Burokku Blocks
Another project from before I started this blog. I made some toy blocks inspired by traditional Japanese carpentry. Japanese carpentry uses no nails, due to a lack of metal of sufficient quality, and also a humid environment, in which pierced wood would be prone to rot. I used this as inspiration for a lego-like set of blocks. I call them “Burokku Blocks”, “burokku”(ブロック) being the Japanese word for block.
I have completed the design for 2 out of the 12 necessary joints required to construct any structure representable as voxels.
What are voxels? They’re like pixels, but in 3D space. A 3D grid of cubes instead of a 2D grid of squares. In short: Minecraft.
We start by designing the joints, ways that simple rectangular prisms can join together, joining togehter in a cubic area called the “joint space”.
The joints follow a set of design principles that I have written myself:
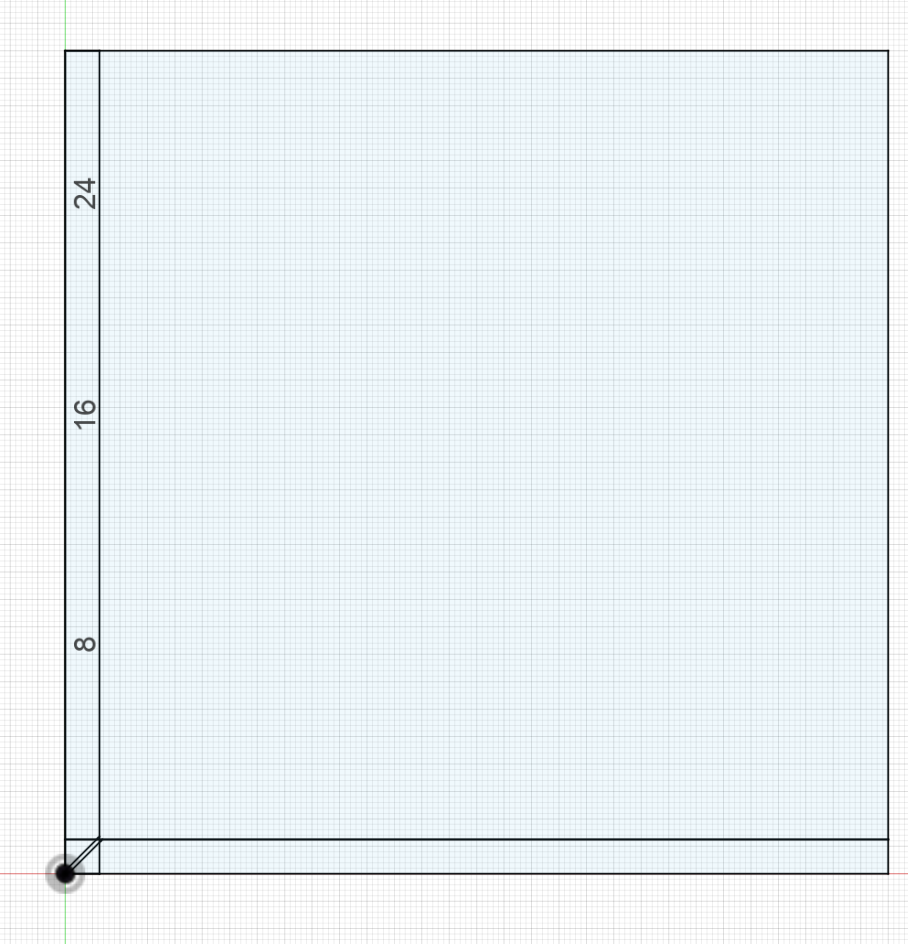
- 1 BU(Burokku Unit) = 30mm
- A joint space takes up 1 cubic BU
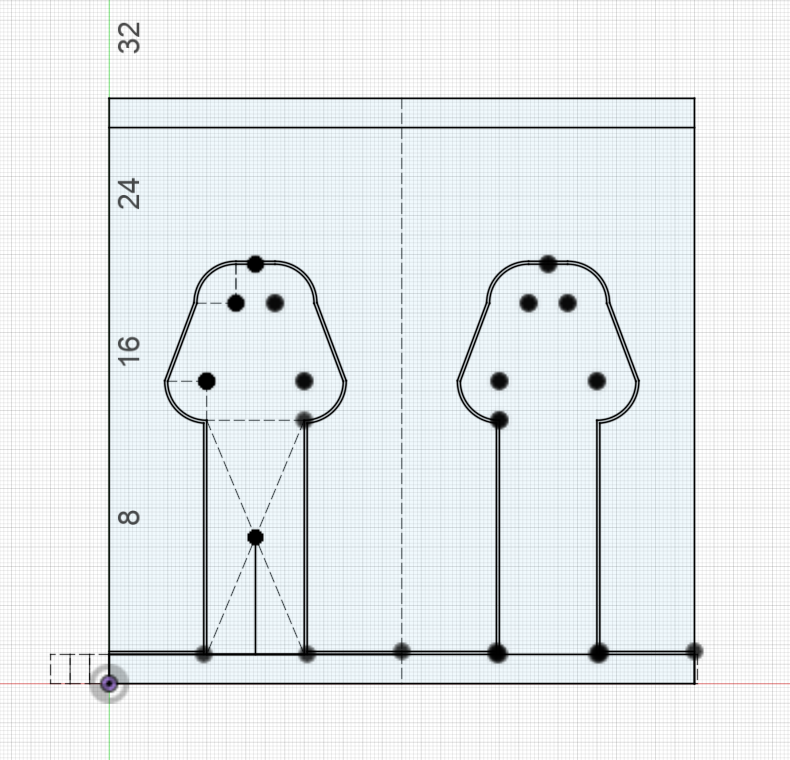
- All joint spaces will have a 1.25mm or greater buffer of solid material on every edge that joins to a prism
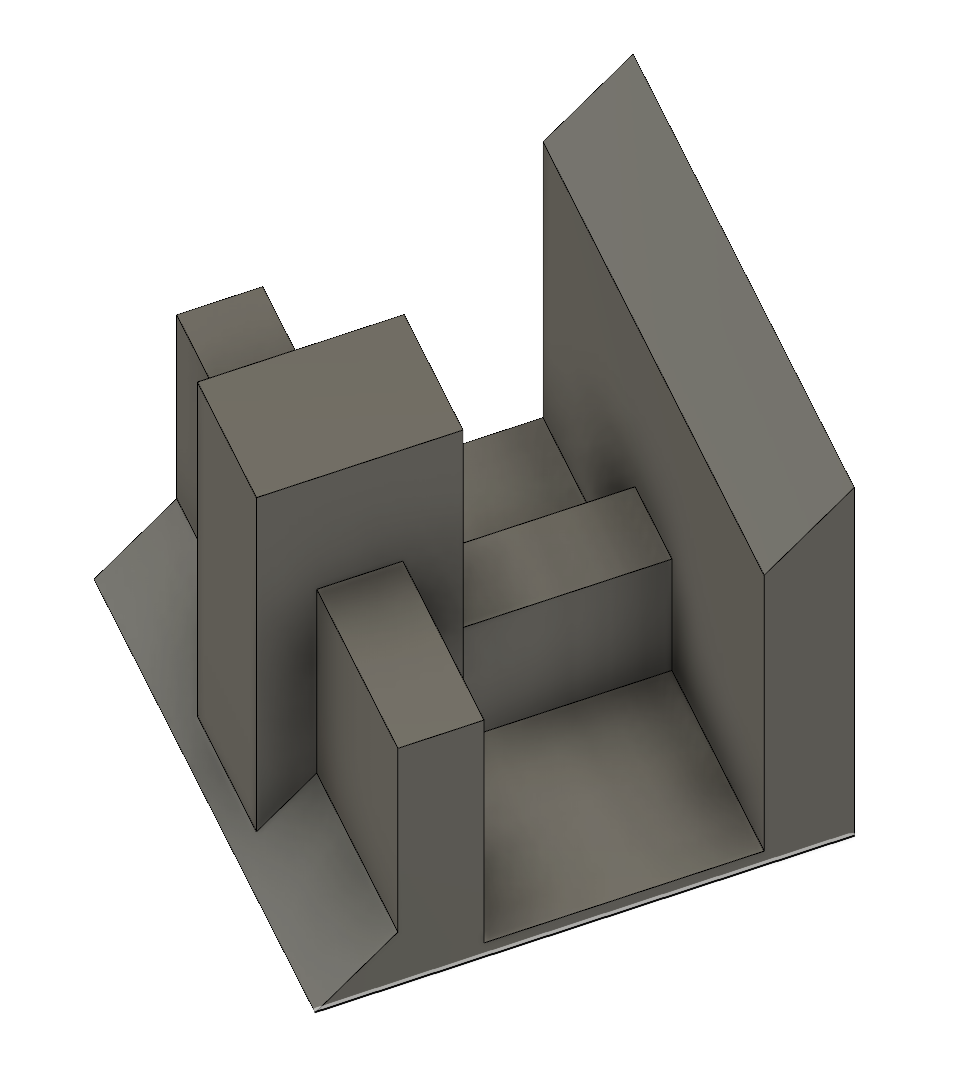
Example of the buffer space for an L-Joint:
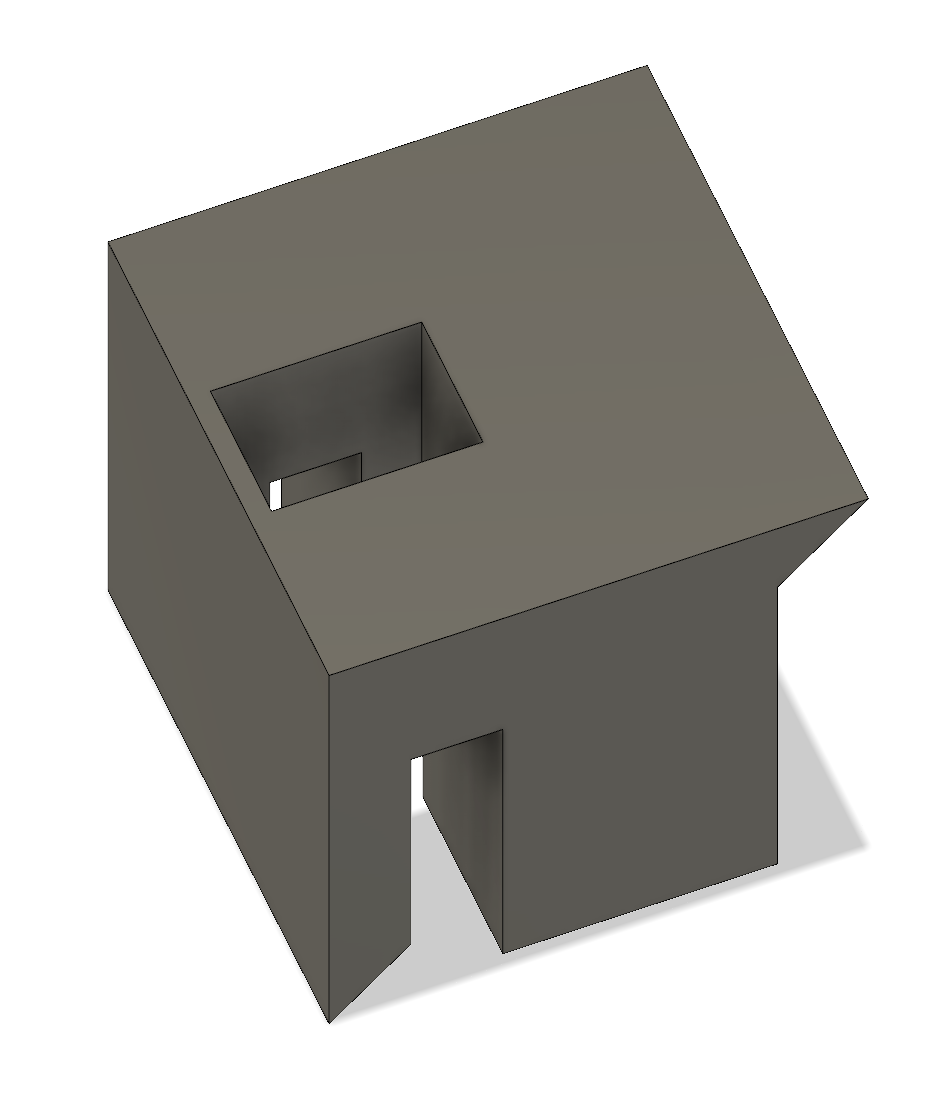
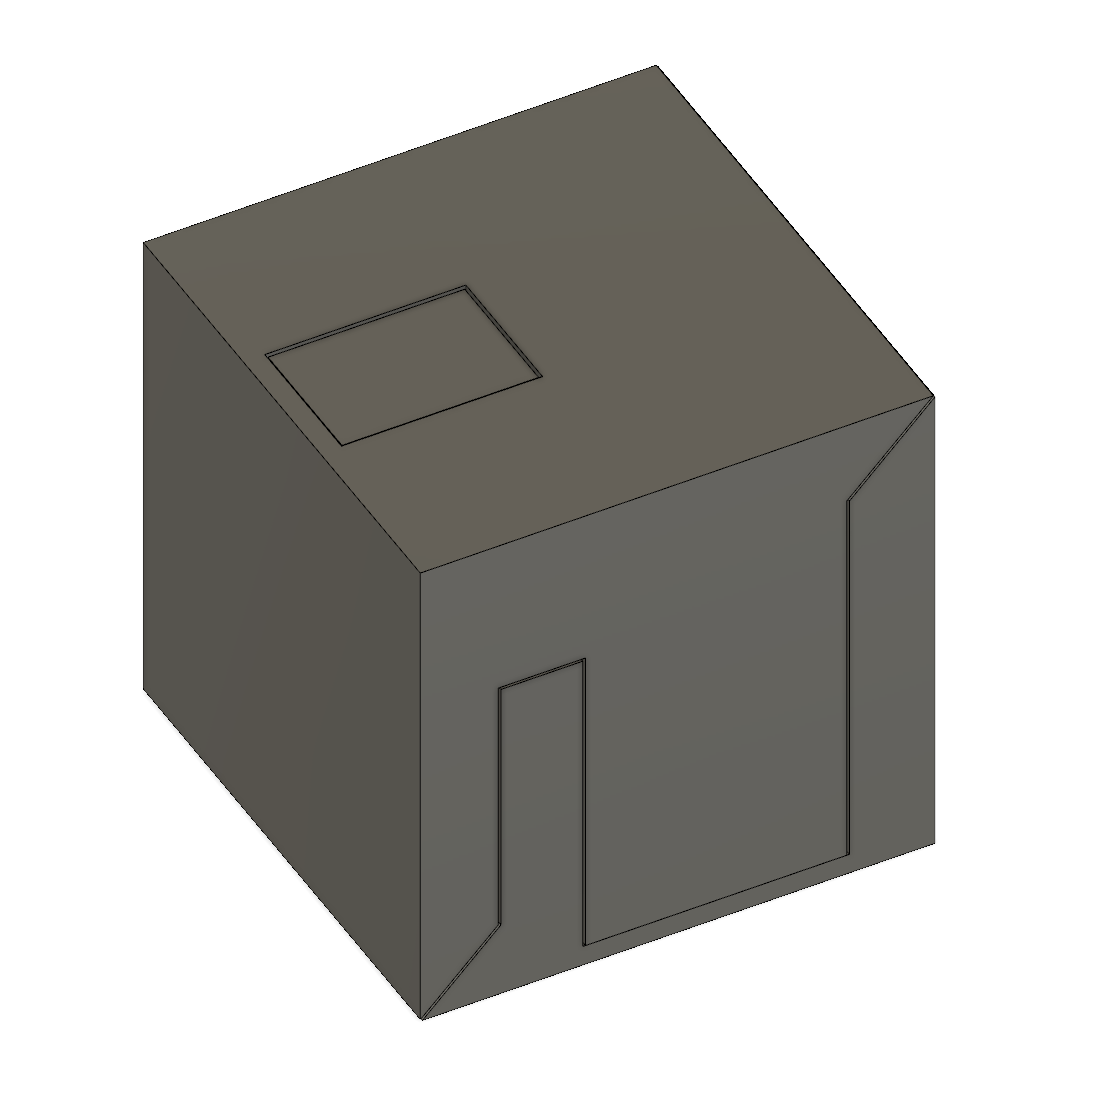
For an I-Joint:
The number of joints that must be modeled can be calculated in the following manner: We take a cube, and we highlight at least 2 sides of the cube, how many different highlighting states exist, excluding states that are rotations or reflections of one another?
The highlighted sides represent the sides we’re joining.
I don’t know the exact math, I would love for someone to tell me how this would be calculated more formally, but I came up with the number 8.
I have named all of these joints as well:
I-Joint (Up, Down)
L-Joint (Up, Right)
T-Joint (Up, Right, Left) or (Down, Right, Left) to see the letter
Y-Joint (Up, Right, Front) or (Down, Right, Front) to see the letter
X-Joint (Up, Right, Down, Left)
K-Joint (Up, Right, Front, Down)
D-Joint (Up, Right, Front, Down, Left)
O-Joint (Up, Right, Front, Down, Left, Back)
Some of these joints can be held together more firmly with pegs, also 3D printed, I’m still experimenting with different peg designs to see what prints well, fits well, and is easy to remove, but for now, these are the models of the I and L joints I have:
I:
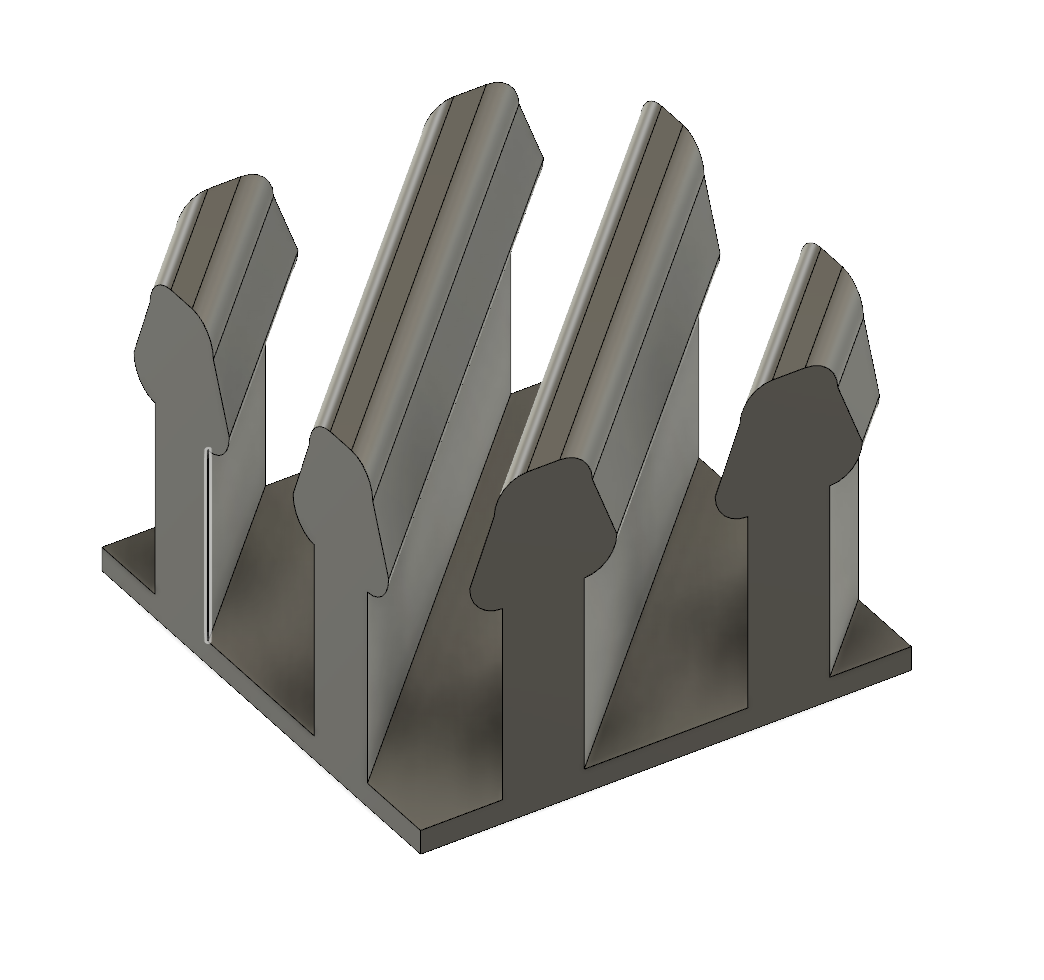
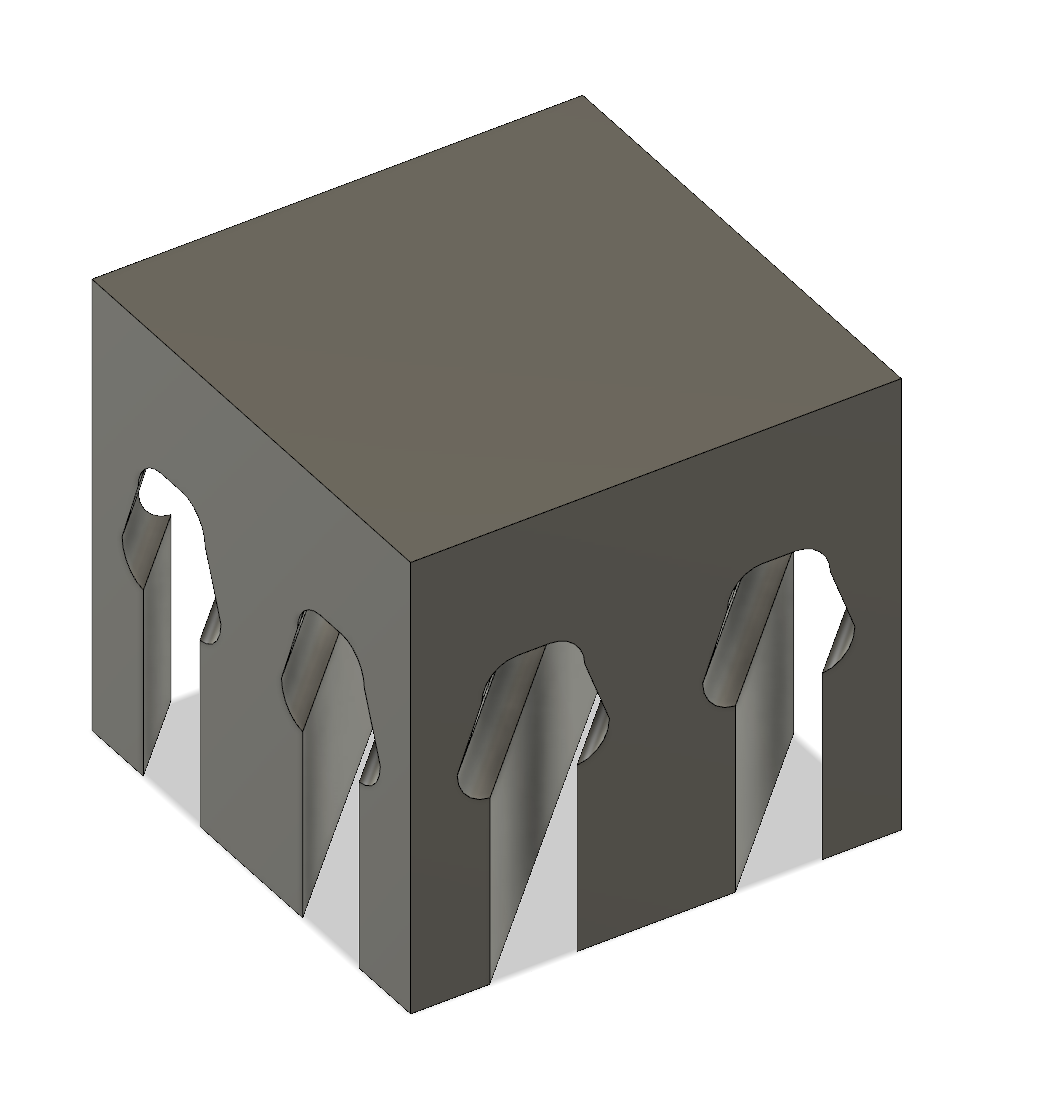
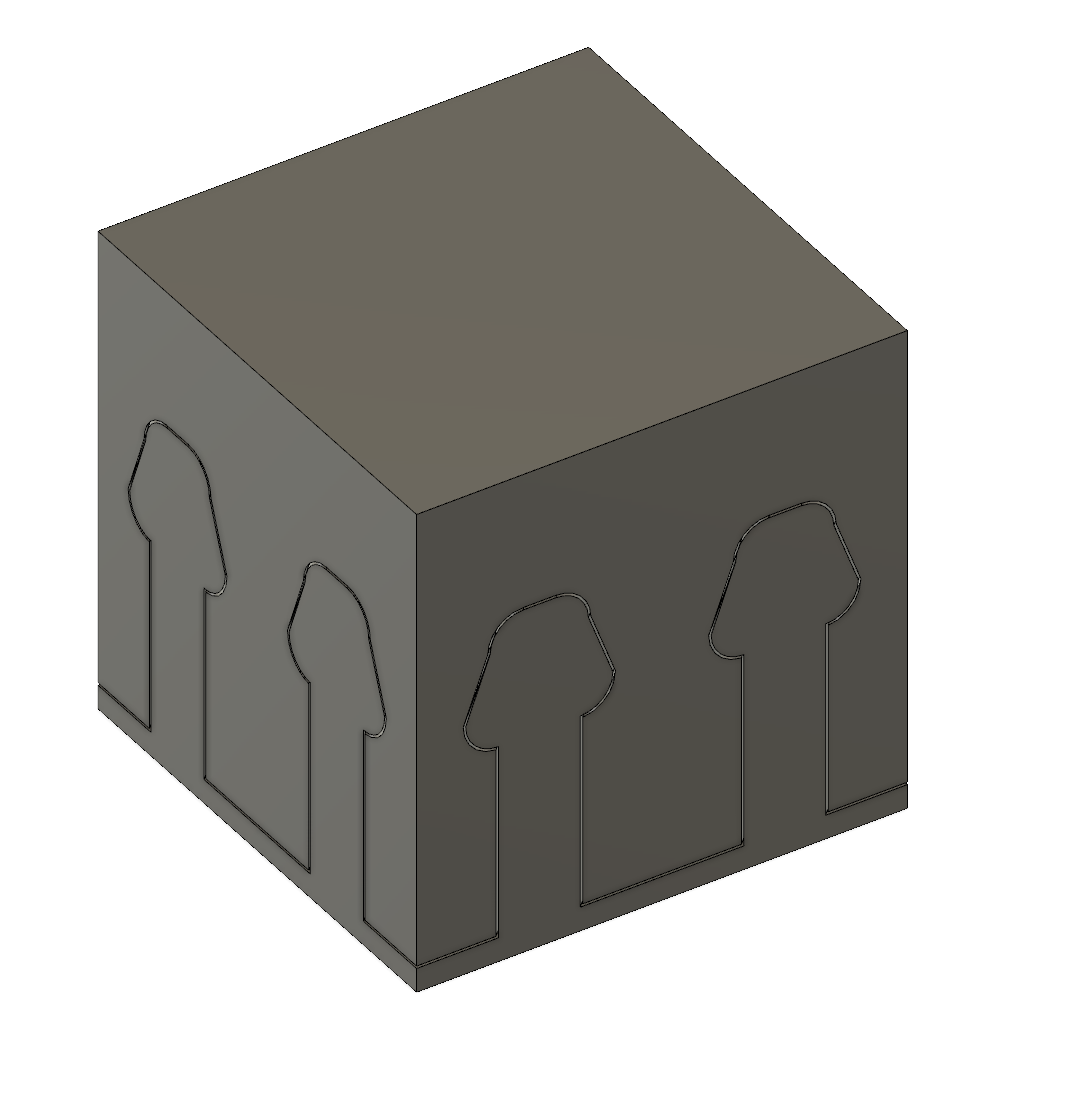
L: